
Move to Confluence Cloud without stopping work in Data Center.
Space Sync for Confluence Data Center helps you connect your Data Center spaces to Confluence Cloud, migrate the existing content, and keep new changes synchronized while your teams continue working.
Your migration can happen in stages. You do not need to finish everything in one cutover.
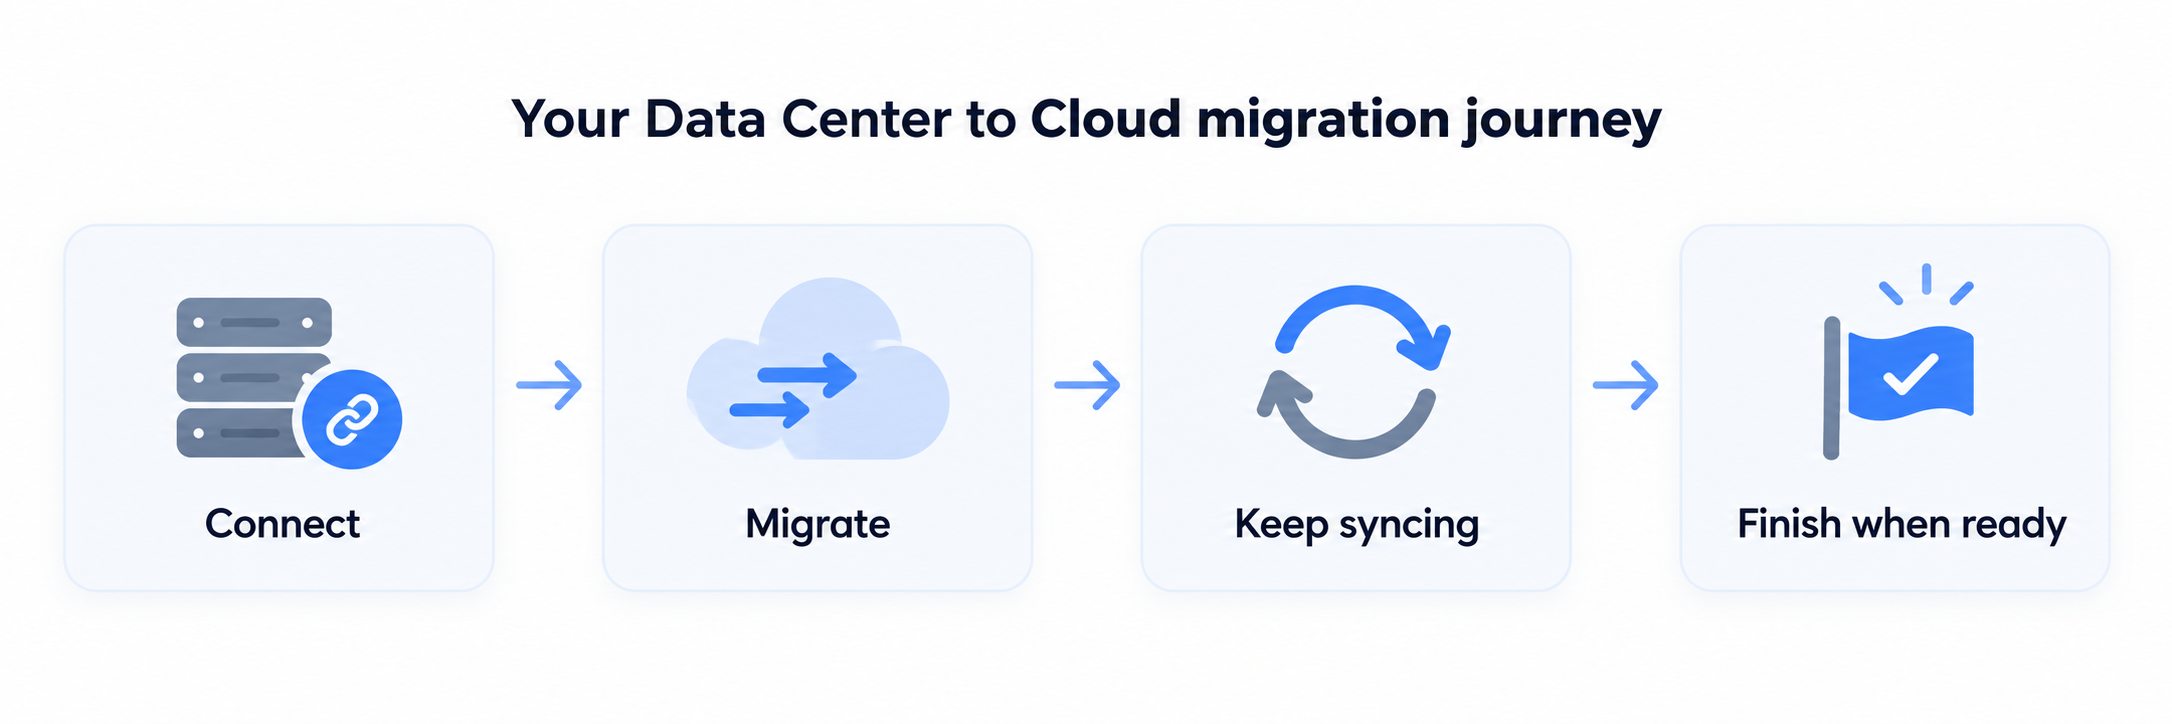
Your Data Center to Cloud migration journey
|
Stage |
What you do |
What happens |
|---|---|---|
|
Connect your Data Center site to Cloud, then connect and map the spaces you want to migrate. |
SSC establishes the synchronization relationships between your Data Center and Cloud spaces. |
|
Select the connected Data Center spaces and start the initial content sync. |
Your existing content is migrated to the connected Cloud destinations. |
|
Leave Auto-sync enabled while teams continue working in Data Center. |
New and updated content continues syncing to Cloud after the initial migration. |
|
When ongoing synchronization is no longer needed, turn off Auto-sync or delete the connection. |
Turning off Auto-sync keeps the connection but stops automatic updates. Deleting the connection ends the synchronization relationship. |
1. Connect your Data Center to Cloud
Start by connecting your Confluence Data Center site to the Cloud site you want to migrate to.
Once the sites are connected, choose the Data Center spaces you want to move and map each one to a new or existing Cloud space.
If you are migrating several spaces, use Connect multiple spaces so you can create the space connections in one workflow.
Next: See How to connect external Cloud sites and How to connect multiple Data Center spaces to Cloud.
2. Migrate the existing content
After the space connections are ready, migrate the existing content from your Data Center spaces to Cloud.
Use Sync content to select multiple connected spaces, review the migration scope, and start the initial content sync.

Creating the connection does not migrate the existing content. The initial migration starts when you run Sync content.
Next: See How to sync content from multiple Data Center spaces to Cloud.
3. Keep Cloud updated while teams continue working
Completing the initial migration does not mean you need to end the connection.
If Auto-sync is enabled, SSC can continue synchronizing new and updated content after the initial migration. This lets teams continue working in Data Center while the Cloud destination stays up to date during your transition.
For the new multi-space connection workflow, Auto-sync is enabled by default unless you turn it off during setup.

Next: See How to configure automatic space sync if you need to review or change your Auto-sync settings.
4. Finish the transition when you are ready
When your organization has completed its transition to Cloud, choose what should happen to the synchronization setup.
-
Turn off Auto-sync if you want to stop automatic updates but keep the space connection available.
-
Delete the connection if the Data Center and Cloud spaces no longer need to remain connected.
You do not need to stop an active migration as part of the normal migration journey. Stop syncing is available only when you need to interrupt a migration that is currently running.
Other ways to sync content
SSC also supports manual and page-level synchronization for connected spaces. These are useful when you need to sync individual pages or a selected set of pages rather than run a multi-space migration.
See the User Guide for page-level synchronization options.
Guides
Use these guides depending on what you need to do:
-
Space Admin Guide — connect sites and spaces, migrate multiple spaces, and configure ongoing synchronization.
-
User Guide — synchronize individual pages or selected content within connected spaces.
-
Step-by-Step Video Tutorials — follow guided Data Center to Cloud migration examples.
Support
If you need help setting up or running your migration, submit a request through the Ricksoft Support Site.