Tables bring structure to your Jira issues.
With Excel-like Tables for Jira, you can add an Excel-like table directly to any Jira issue in just a few clicks.
Here's how:
Step 1: Open a Jira work item (issue)
Navigate to the issue where you want to add a table.
You can add a table to any issue type: tasks, stories, bugs, and more. Just make sure you have editing permissions.
Step 2: Add a new table
Click the Excel Table icon in the issue’s Apps bar. This will insert a table panel directly into your issue, editable inline.
Note: If you don’t see the icon, confirm that the app is installed or check with your Jira admin.

Step 3: Configure your table
Click Open Editor to launch the full Excel-like view with all available functions. You can choose a template or start from scratch.
Step 4: Enter your data
You can start entering data inline in the Jira issue, or open the full editor for more advanced options:
In Jira inline view:
-
Click any cell to enter data
-
Press Save to save changes
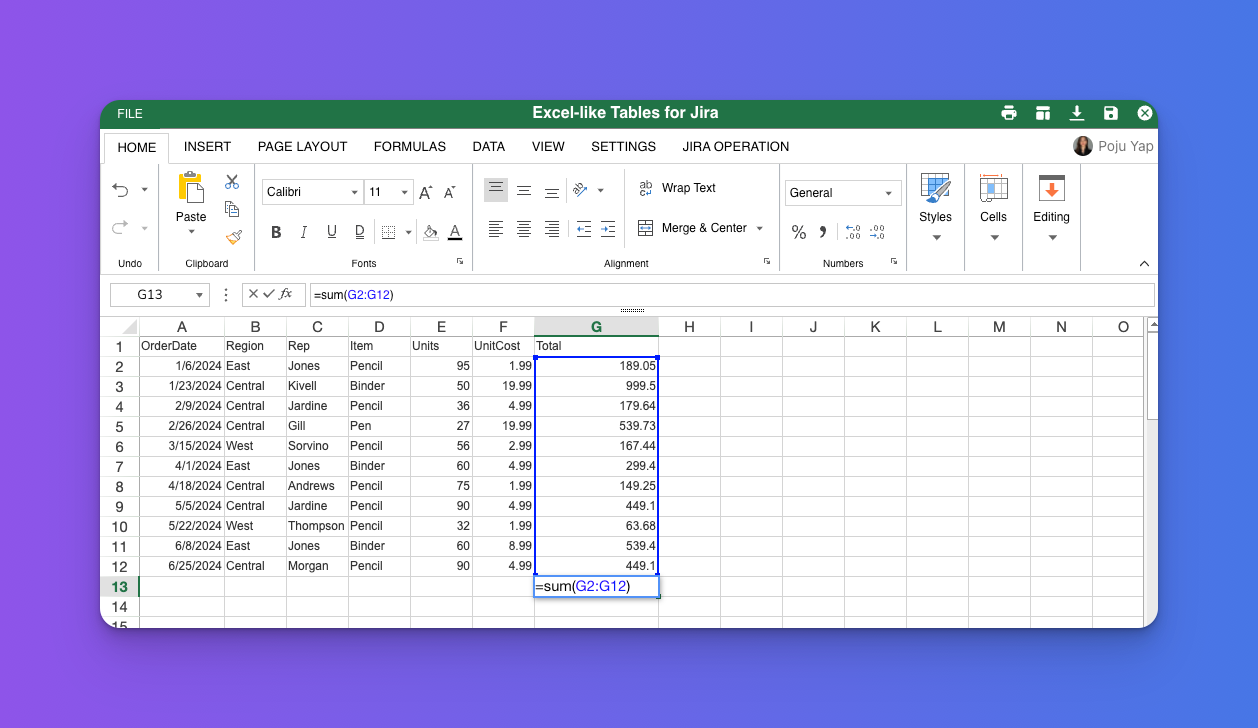
In Open Editor view:
-
Click any cell to enter or edit data
-
Add rows/columns using the toolbar
-
Format text (bold, italic, cell colors)
-
Use advanced features like:
-
Charts
-
Pivot tables
-
Conditional formatting
-
Formulas (e.g.,
=SUM(A1:A5))
-
You can also link a Jira field to your cell using the Jira Field Mapping feature. Explore more here.
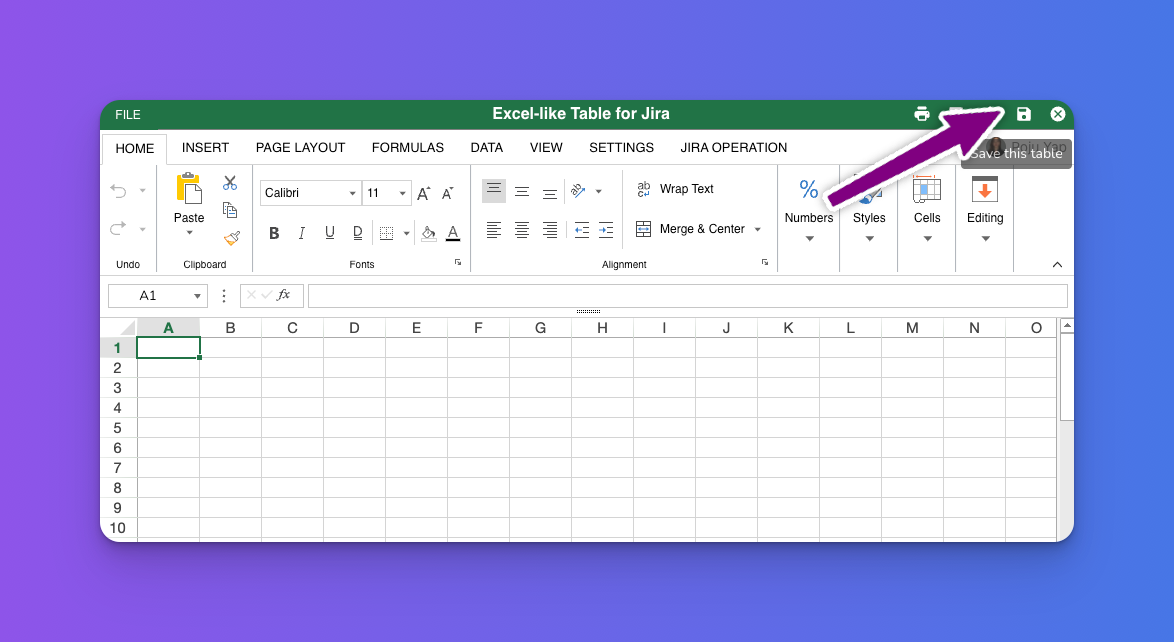
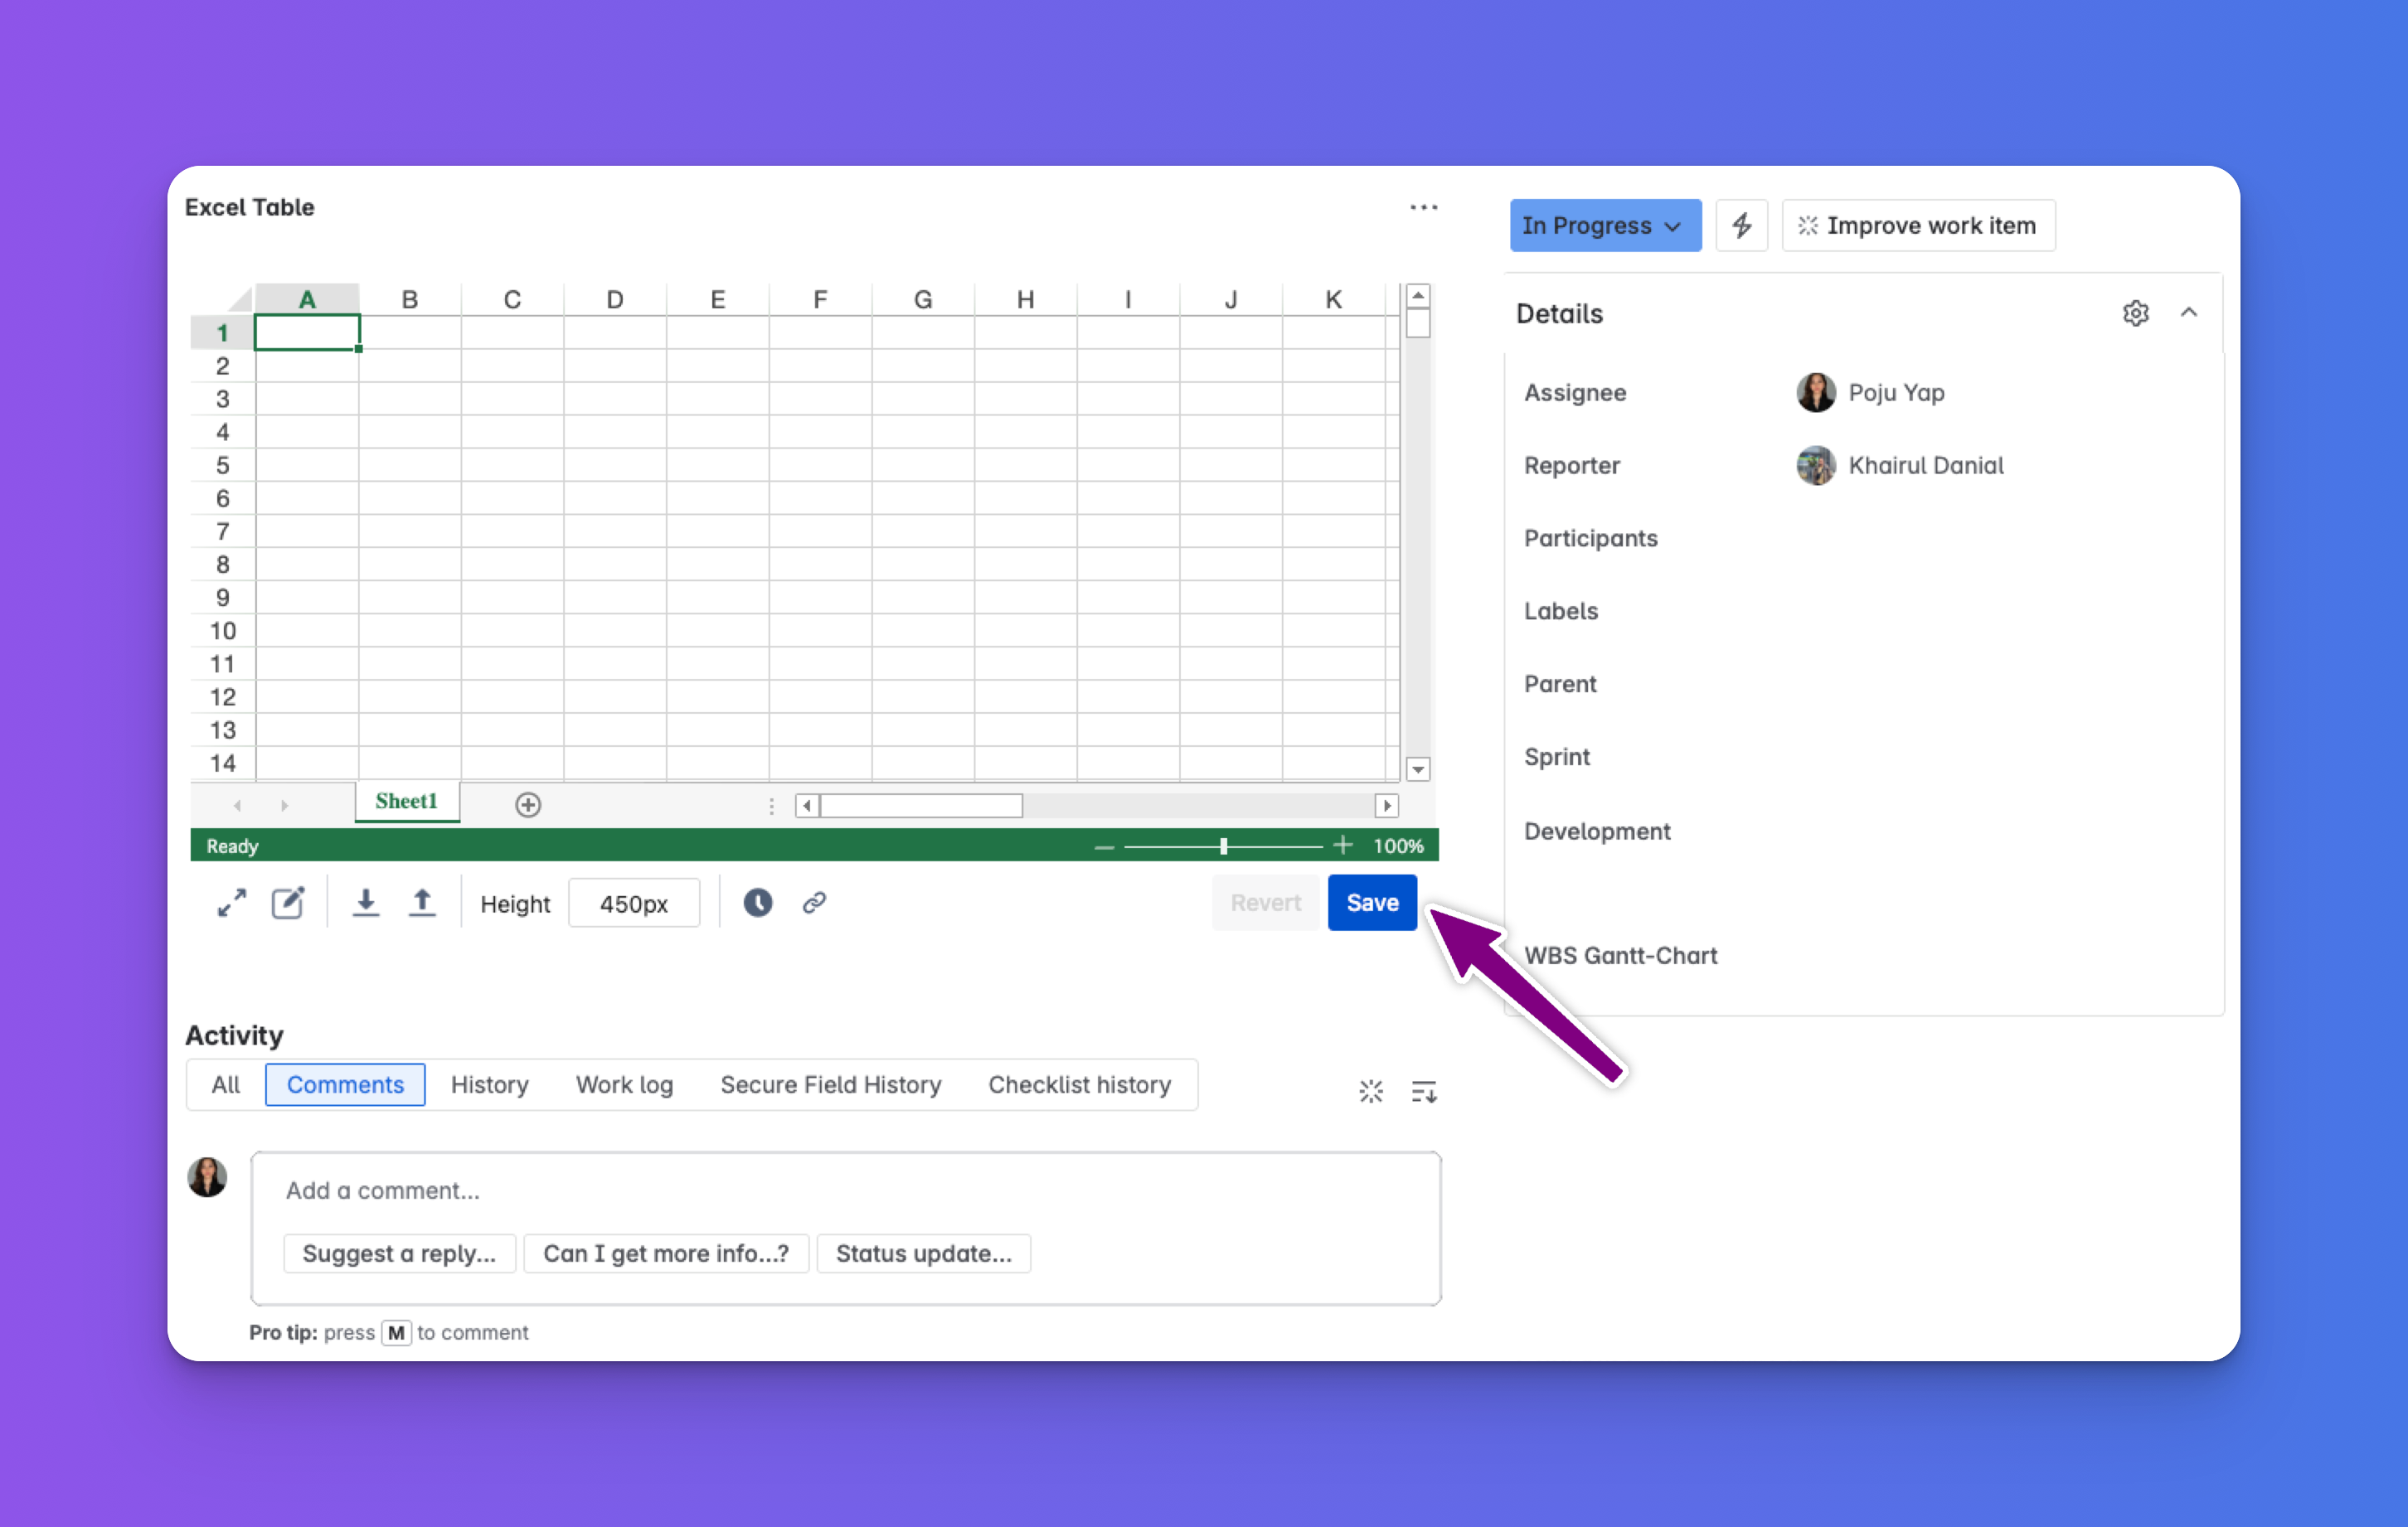
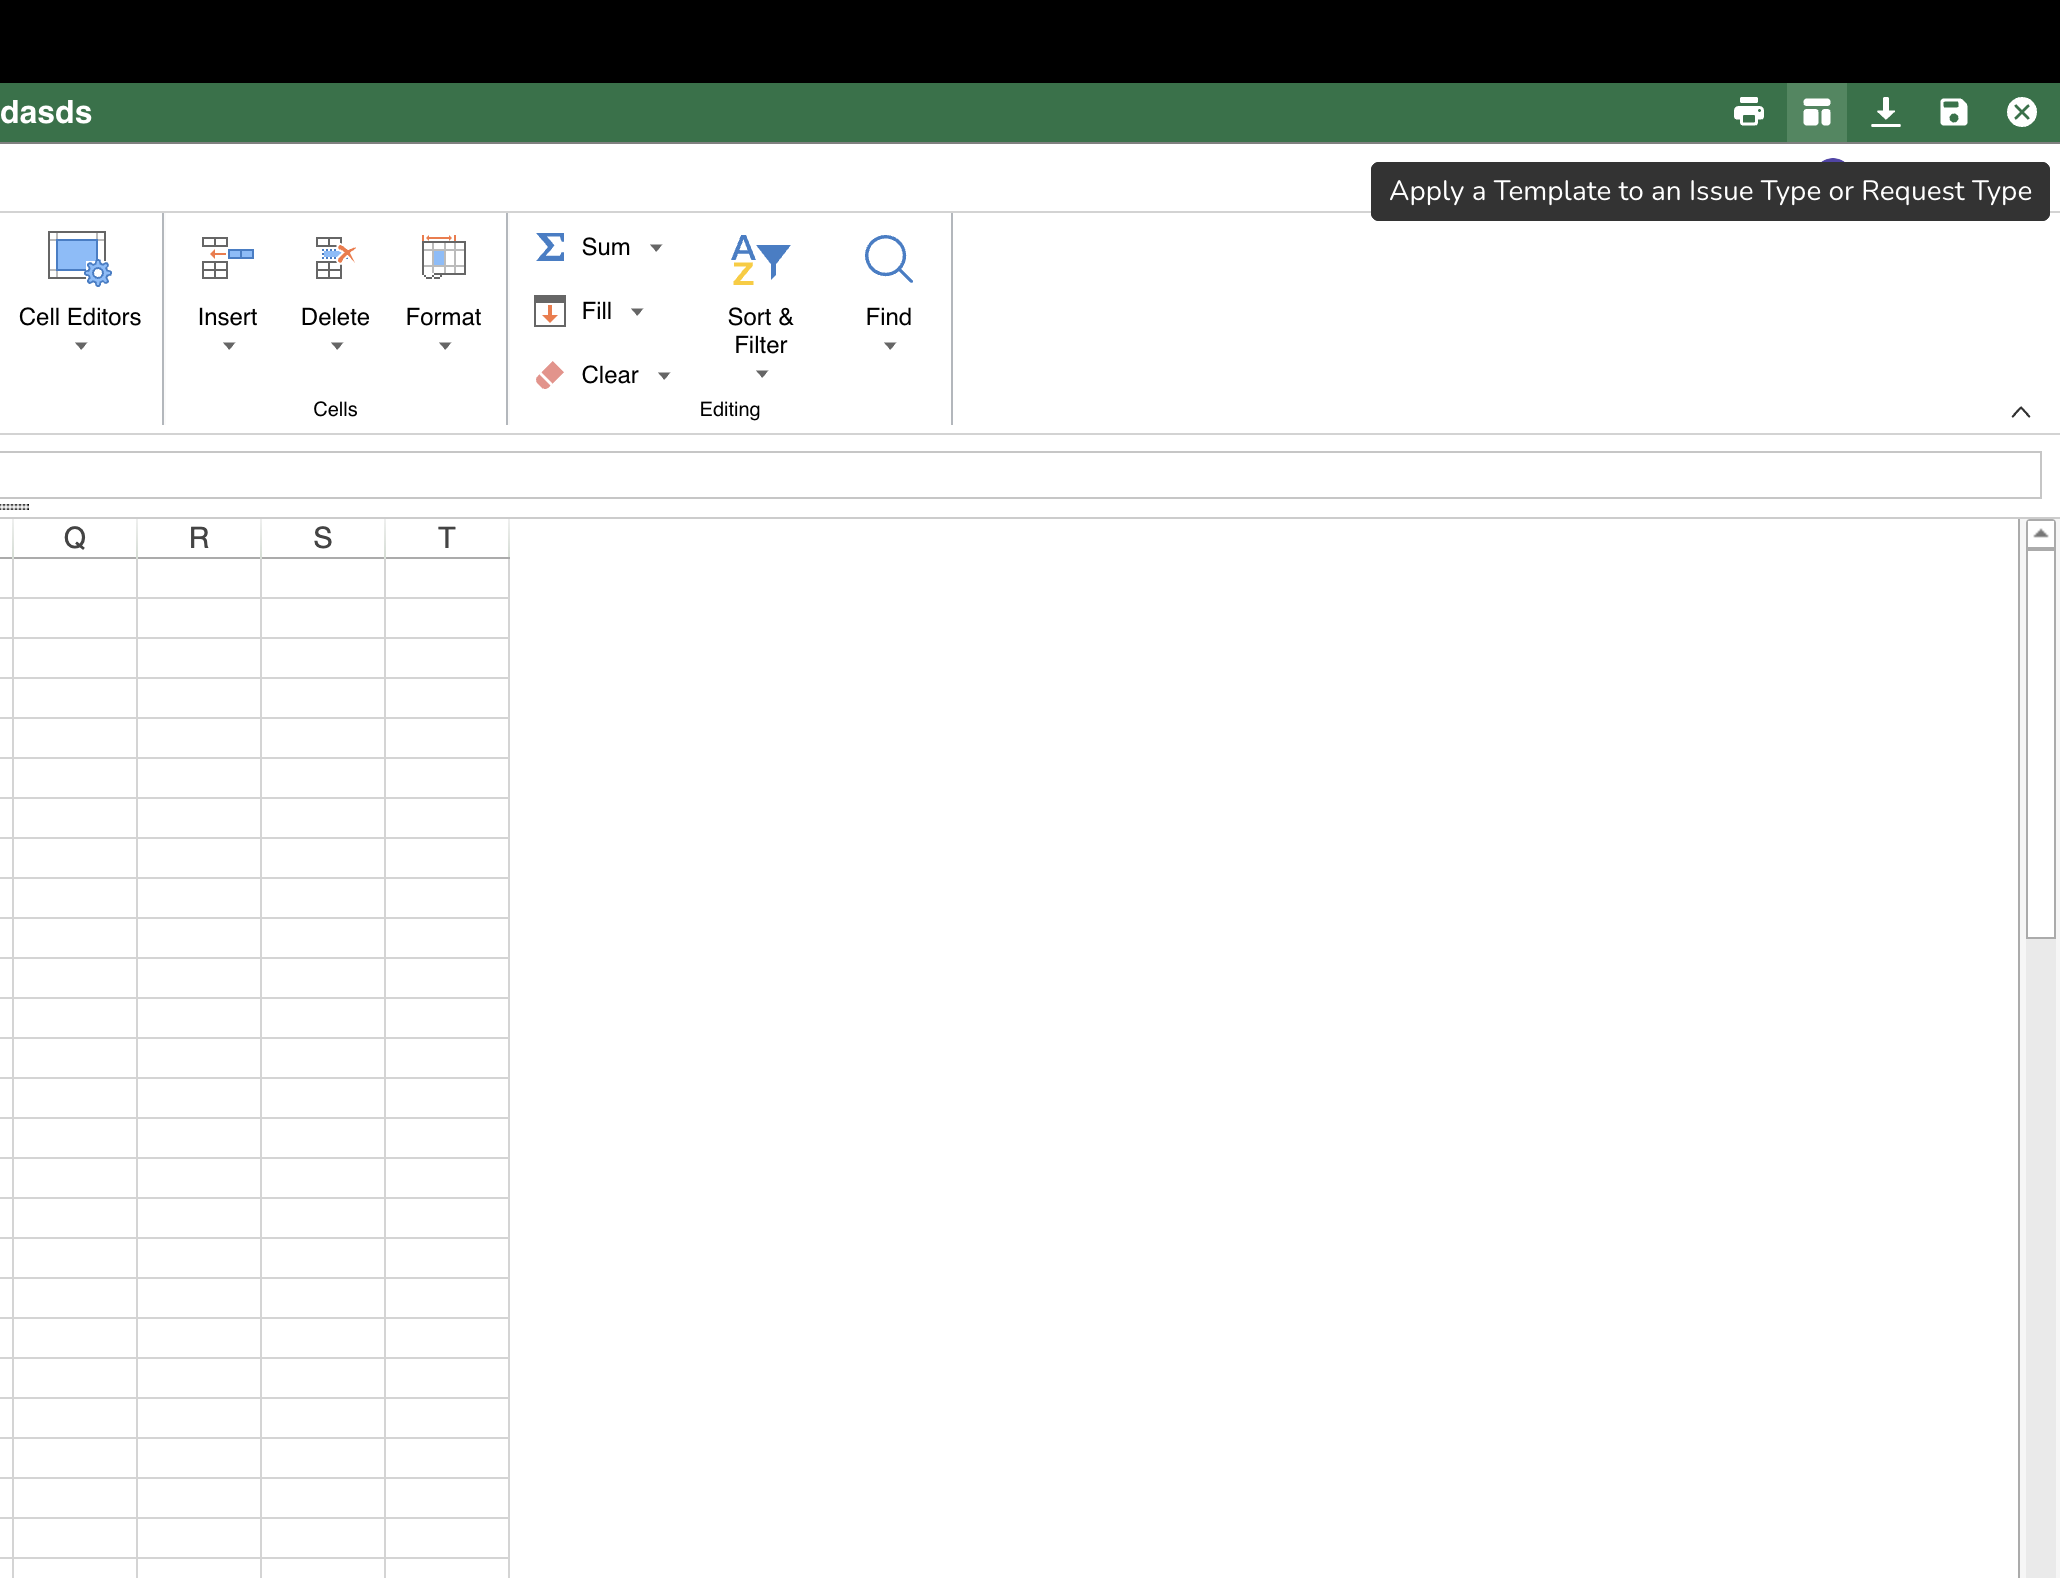
Step 5: Save the table
-
In the Open Editor, click Save this table (top right).
-
In the inline view, click Save in the toolbar.
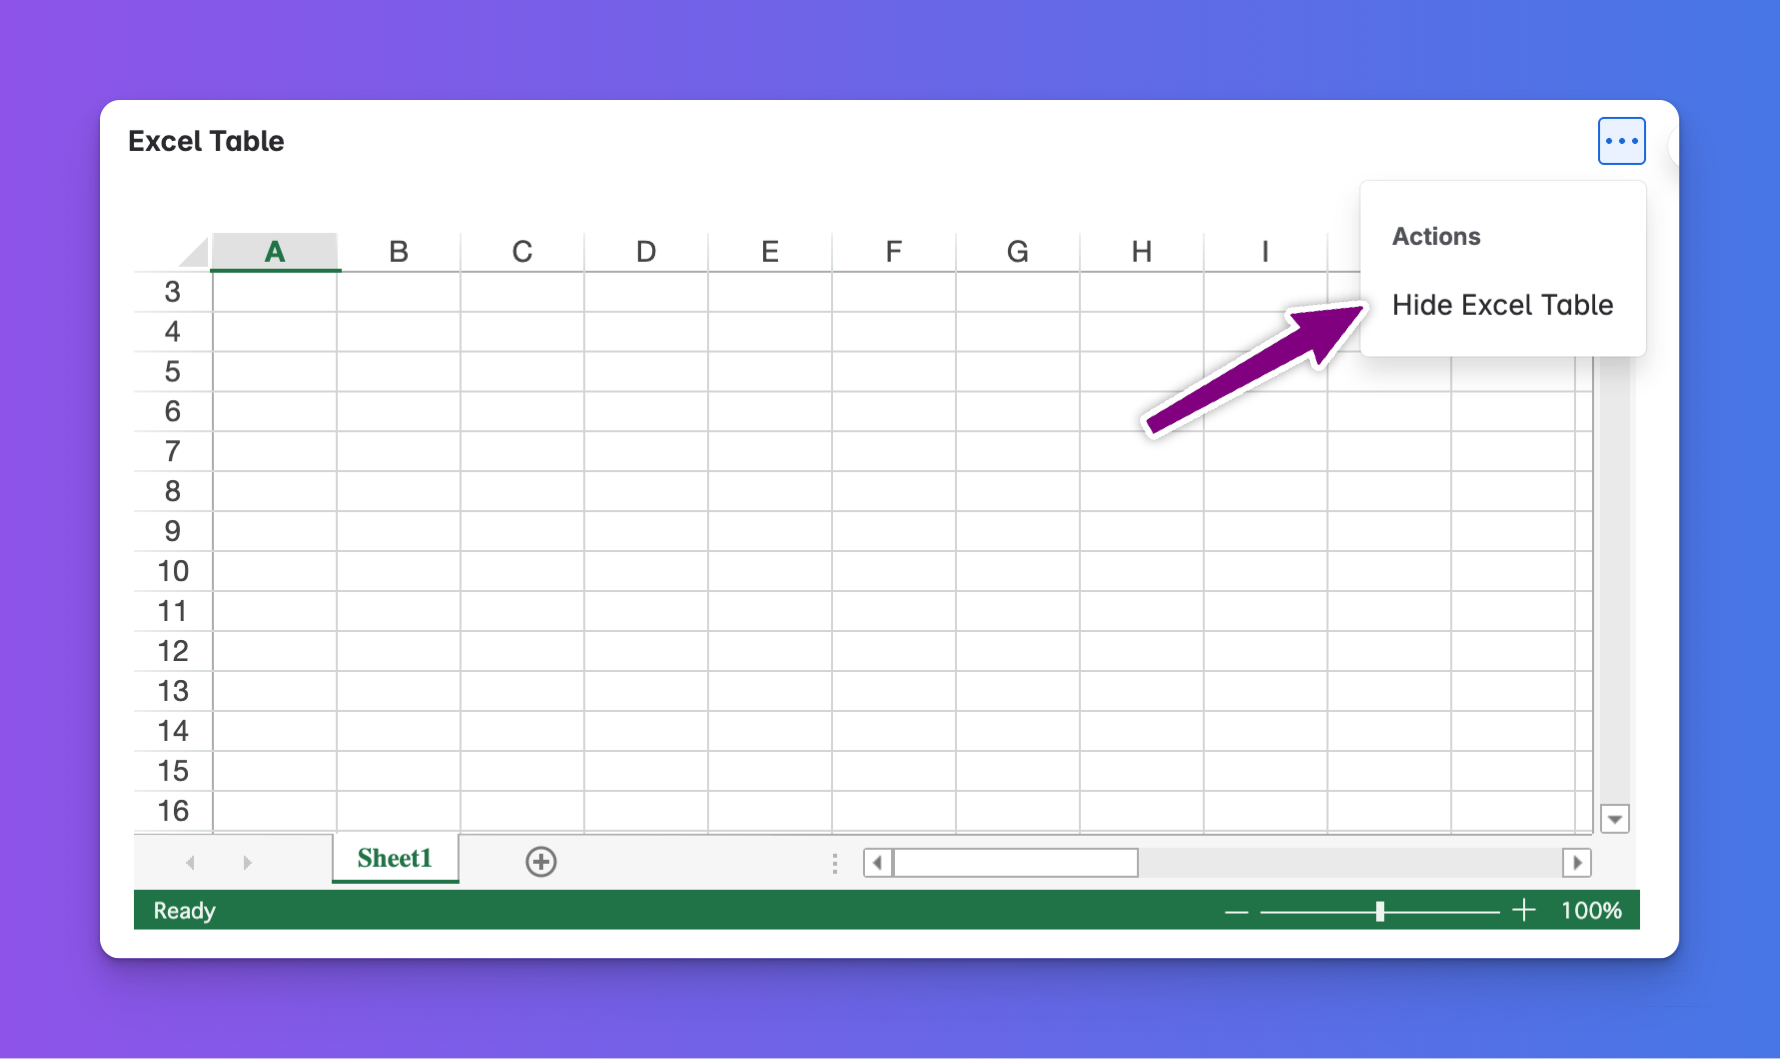
➖ To Hide a Table
Click the ⋯ (more) button in the table panel and select Hide Excel Table from the dropdown.
Tip: You can also create templates per issue type from your edited table
Read more about it here: Auto-populate Jira Issue with a Table